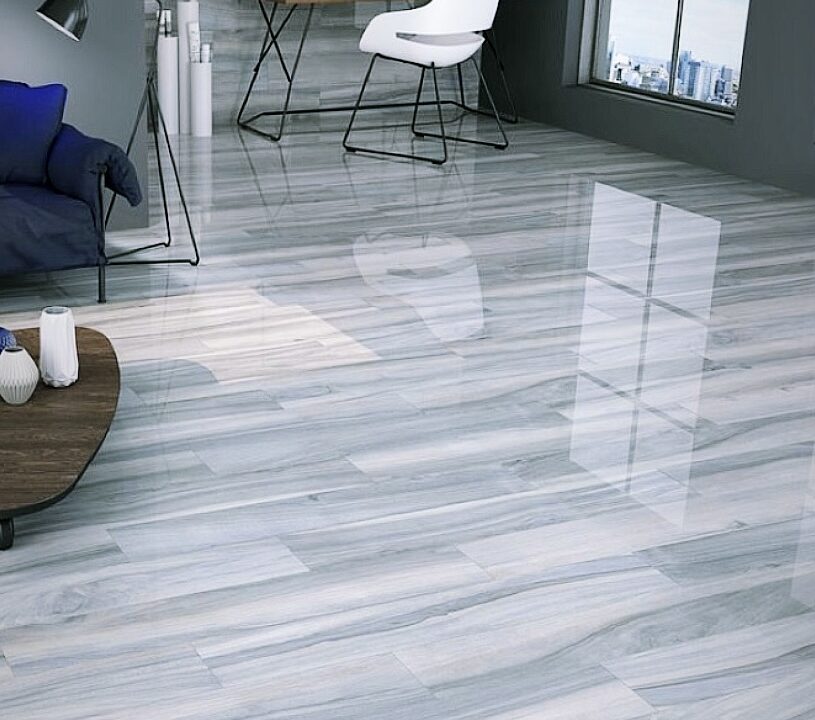
Welcome to the ultimate guide on installing Duralux vinyl flooring. Whether you’re a seasoned DIY enthusiast or just starting your home improvement journey, this article will equip you with the knowledge and confidence to tackle this project. Duralux vinyl flooring is not only a durable and cost-effective choice but also adds a touch of elegance to any space. Let’s dive into the world of Duralux flooring installation.
Getting Started
Preparing Your Workspace
Before you begin, it’s essential to clear the area where you plan to install your Duralux vinyl flooring. Remove furniture, appliances, and any existing flooring materials. Make sure the subfloor is clean, level, and dry.
Acclimating the Flooring
Duralux vinyl flooring needs time to acclimate to the room’s temperature and humidity. Leave the unopened boxes in the installation area for at least 48 hours.
Tools and Materials
To get started with your Duralux vinyl flooring installation, you’ll need the following tools and materials:
- Duralux vinyl flooring planks
- Underlaymentj
- Utility knife
- Tape measure
- Tapping block
- Spacers
- Adhesive
- Rubber mallet
- Safety goggles and gloves
Installing Duralux Vinyl Flooring
Laying the Underlayment
Begin by rolling out the underlayment across the subfloor. This layer provides cushioning, sound insulation, and moisture resistance. Cut it to fit the room’s dimensions, ensuring there are no overlaps.
Establishing the First Row
Start in a corner of the room and lay the first plank with the groove side facing the wall. Use spacers to create an expansion gap along the walls. This gap allows the flooring to expand and contract with temperature changes.
Fitting the Planks
Connect the subsequent planks by inserting the tongue of one plank into the groove of the other at a slight angle. Use a tapping block and rubber mallet to secure the joints tightly. Stagger the planks for a natural look.
Cutting and Trimming
You’ll likely need to cut planks to fit the remaining space at the end of rows or around obstacles. Measure and mark the plank, then carefully cut it with a utility knife.
Installing the Last Row
To fit the last row, measure the width needed and cut the planks accordingly. A pull bar can help snugly fit the last row into place.
Final Checks
Once all the planks are in place, double-check that everything is secure, and there are no visible gaps. Remove the spacers and reinstall baseboards or molding if necessary.
FAQs
Q: How do I clean and maintain Duralux vinyl flooring?
A: Duralux vinyl flooring is easy to maintain. Regularly sweep or vacuum to remove dirt and debris. For deeper cleaning, use a damp mop with a mild vinyl floor cleaner. Avoid harsh chemicals or abrasive scrubbers.
Q: Can I install Duralux vinyl flooring in a bathroom?
A: Yes, Duralux flooring is waterproof and suitable for bathrooms. Just make sure to seal all edges and seams to prevent moisture infiltration.
Q: Do I need professional installation for Duralux vinyl flooring?
A: While professional installation is an option, Duralux vinyl flooring is designed for DIY installation. With the right tools and following our guide, you can achieve professional-looking results.
Q: How long does Duralux vinyl flooring last?
A: Duralux vinyl flooring is known for its durability and can last 10-20 years or more with proper care.
Q: Can I install Duralux vinyl flooring over an existing floor?
A: It’s possible to install Duralux vinyl flooring over some existing floors, but it’s essential to follow the manufacturer’s guidelines and ensure the old flooring is in good condition.
Q: Is Duralux vinyl flooring pet-friendly?
A: Yes, Duralux vinyl flooring is pet-friendly. It’s resistant to scratches and stains, making it an excellent choice for households with pets.
Conclusion
Congratulations! You’ve successfully learned how to install Duralux vinyl flooring. This versatile and attractive flooring option can enhance the beauty of your home while being easy to maintain. By following our step-by-step guide and addressing common FAQs, you’re well on your way to a successful DIY flooring project.
Remember, preparation and attention to detail are key to achieving a professional finish. With Duralux vinyl flooring, you’re not just upgrading your space; you’re investing in the future of your home.